Overwriting Existing Data with Blank Values
Objective: Gain an understanding of how to import blank values into attribute fields of Assets or Components using Data Exchange.
NOTE It is only possible to wipe out existing data from Assets or Components using Data Exchange, and this process is irreversible.
The Data Exchange module optionally allows for the bulk deletion/clearing of specific attribute data against Assets or Components, using the Import Wizard. This bulk deletion feature can easily delete attribute data that is no longer needed, wherever the import file contains blank cells. By default, existing data will never be overwritten with blank values, unless the option is manually enabled.
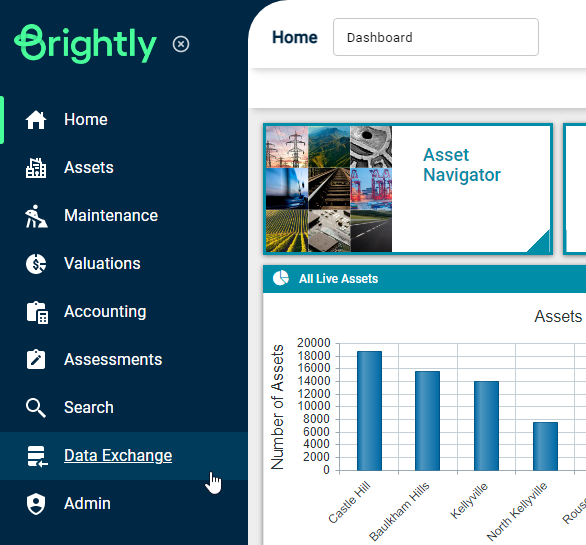
In order to wipe data, first select the 'Data Exchange' module in the navigation sidebar:
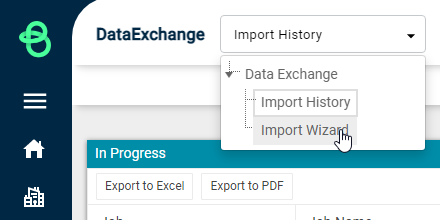
Next, from the navigation drop-down select 'Import Wizard':
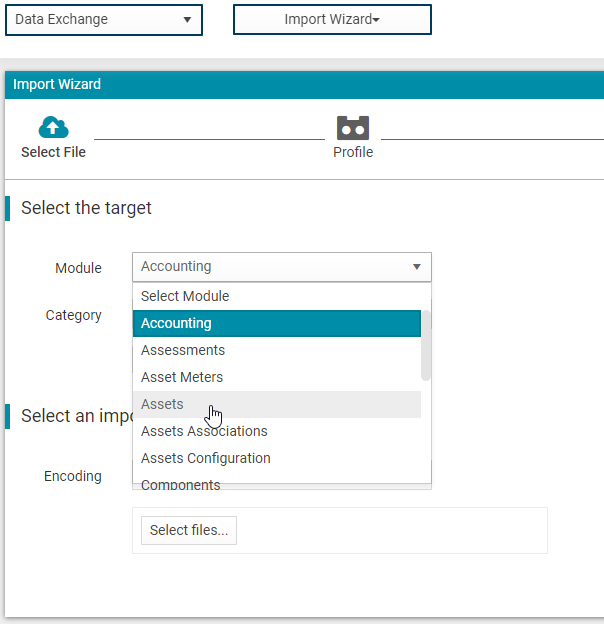
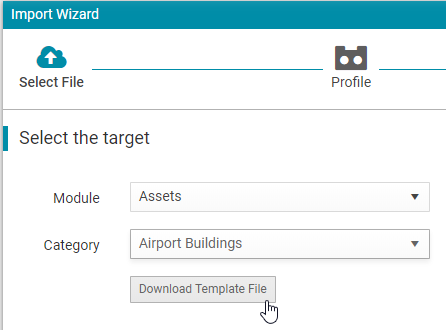
From the 'Modules' drop-down, select 'Assets' or 'Components':
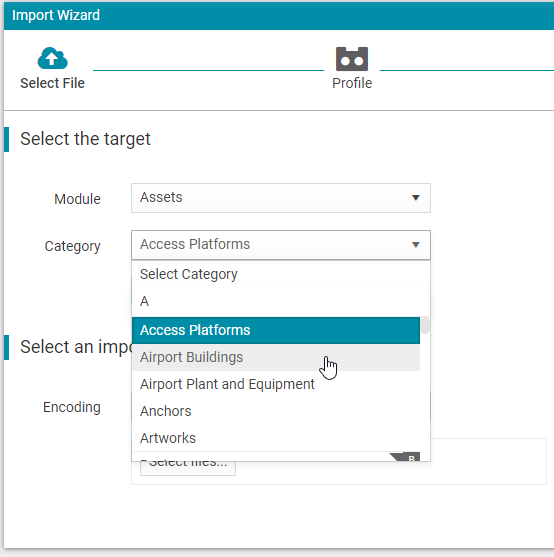
From the 'Category' drop-down select the appropriate Asset Category or Update Component:
Click on the 'Download Template File' button.
Open the template and populate the fields requiring upload. Fields that need to be uploaded with a null value can be left empty.
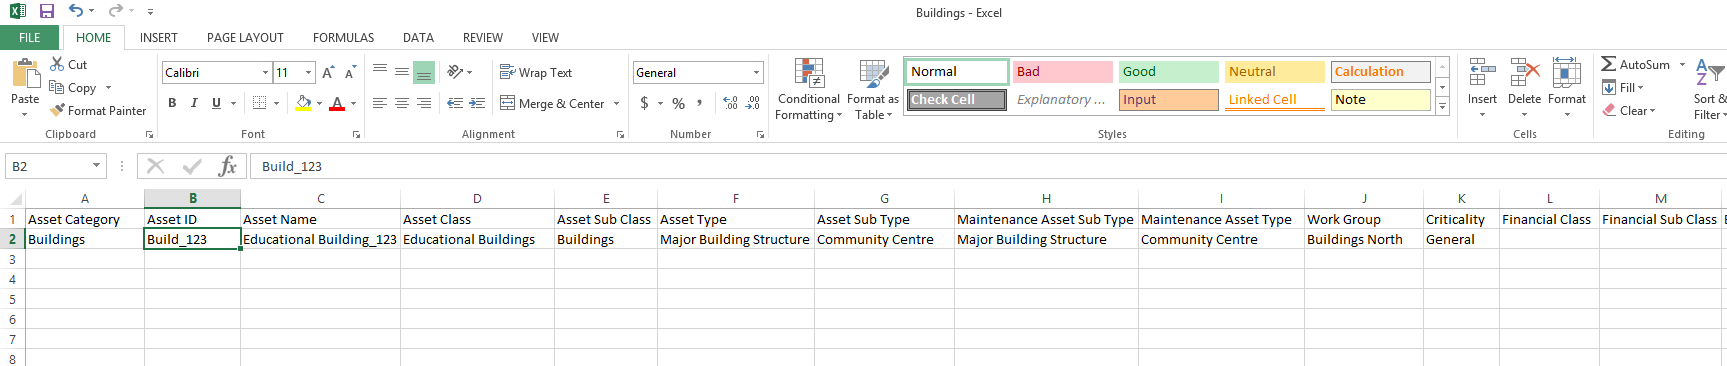
Save the template and return to Data Exchange.
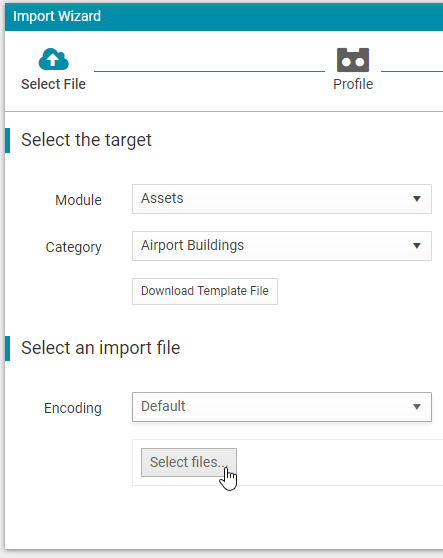
Click on the 'Select files' button and select the template to use, to begin the import.
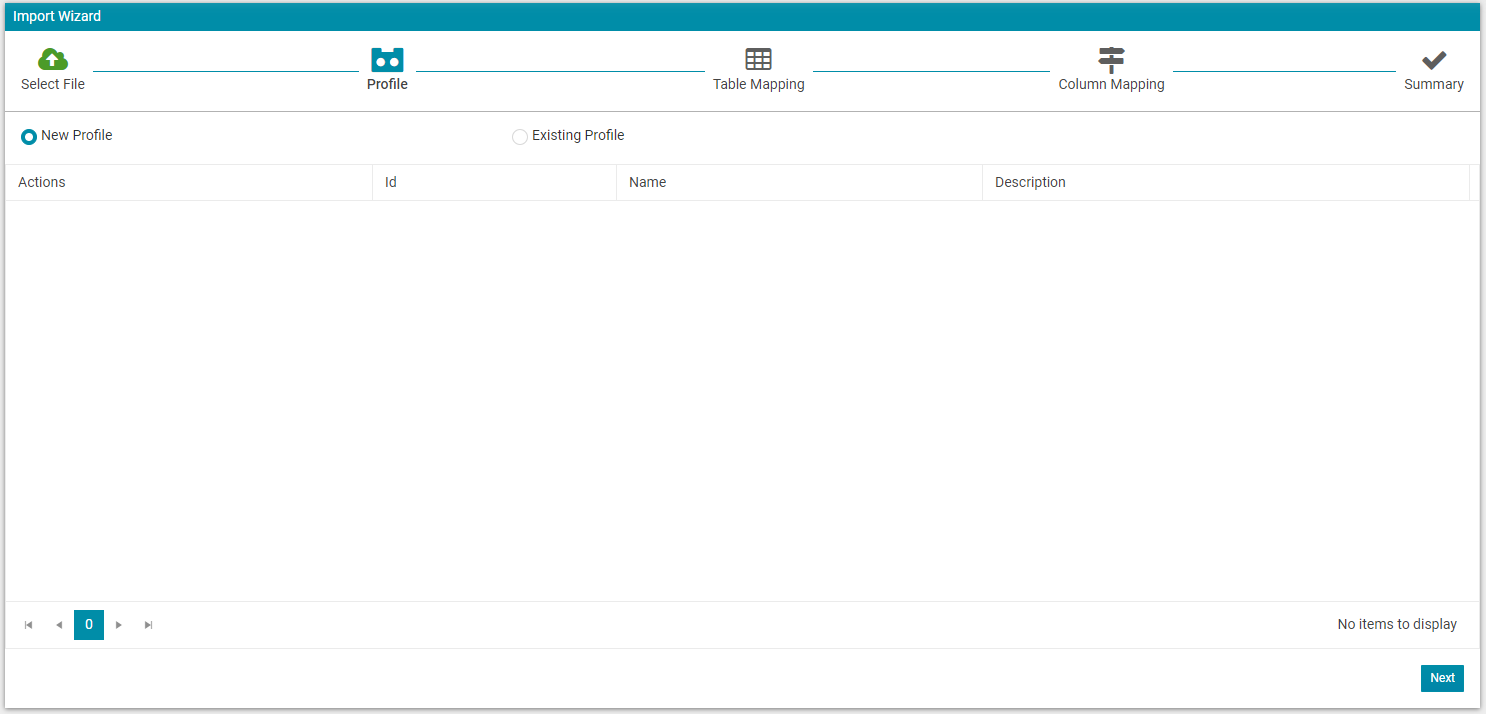
As with any import, the first step is Profile selection. Click on 'Next' to proceed with the import.
The next step is Table Mapping, where the data wipe option is available as a checkbox.

By default, this is checked, which means that the data exchange import will not wipe out any existing data from the system.
By unchecking this, users can upload NULL/empty data to fields if required.
While unchecked, the following warning message pops up:

NOTE Be very careful when choosing to use this feature as existing field values will be overwritten as 'Null' if the corresponding cell in the Data exchange template is not populated, and once this operation is performed, lost data cannot be restored.
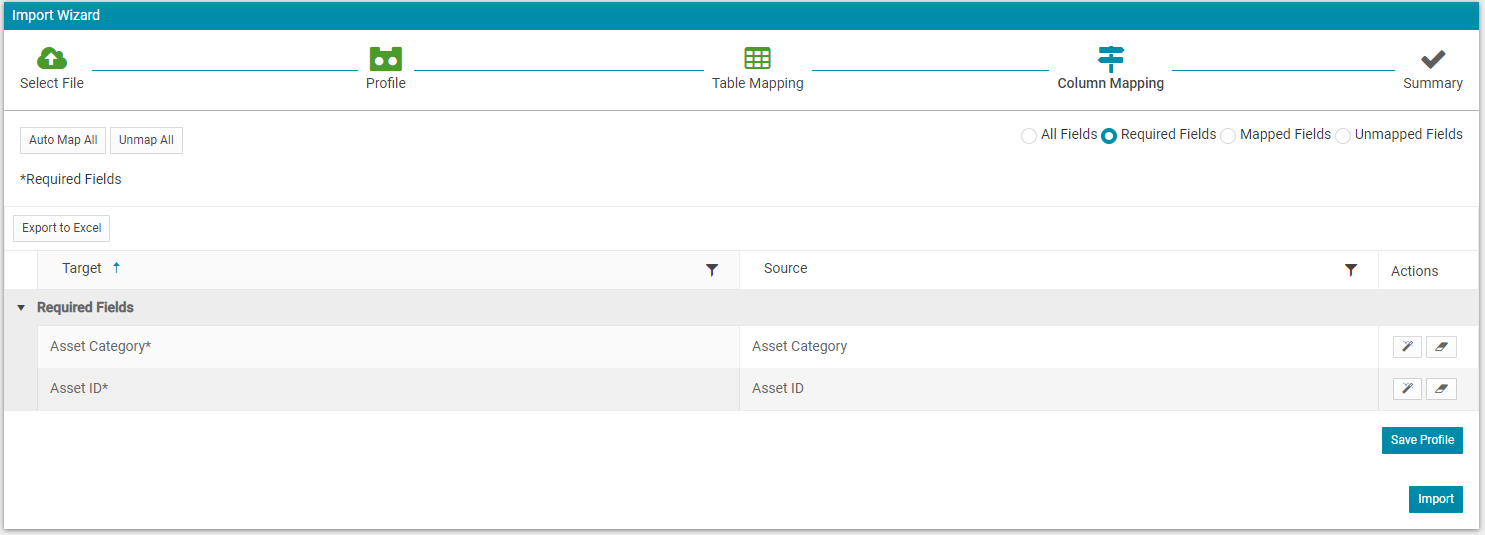
Clicking 'Next' again will move to the Column Mapping step, as with any other import, where the required fields (mandatory) and other optional fields can be mapped. Finalise the import configuration by clicking 'Import'.
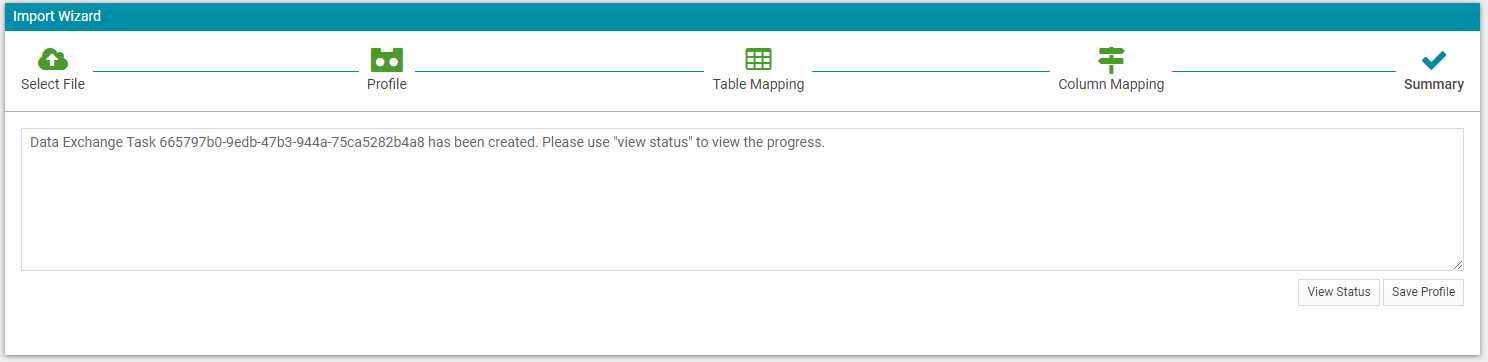
This will load the Import Summary step, confirming that the import has started. Clicking the 'View Status' button will take users to the Import History view, where they can see any In Progress or Finished imports.
For more information on the specifics of the Data Exchange module, please see the remaining articles in the Data Exchange section:
